Total Pageviews

Saturday, 16 June 2012

Famous Faces (stencils) on Fabric Banners

YEAR EIGHT:-
Works in Progress -Nearly finished!!! Have to be.. end of term next week.
This is a mixed medium project that I am doing with my year eights classes.  We started by finding a picture of a famous person they liked, admired, most chose famous singers. Students copied and pasted their picture it into a word document and turned it into a stencil; by using the picture pop up - you can turn any picture into black and white (no tones).  Everyone made their own paper stencil out of the face they chose. I photocopied them all onto cartridge paper A3 size - and students cut them out. Cartridge paper was better, a lot stronger than normal printing paper from the photocopier.

We had a fun lesson experimenting with paint, firstly on paper, each student played with paint first. Then transferred their ideas onto a piece of cotton fabric; stretched out on a table and made a big mess and had fun.

After the fabric was dry we sprayed the back of the stencil with spray adhesive and used black spray cans to spray the faces onto the painted fabric backgrounds.

We glued the fabric onto cardboard - as the fabric gets hard and unattractive! Experiment with attaching fabric to cardboard to get the best result.  We had lots of trouble getting our fabric straight and stopping the cardboard from buckling.

Lastly each student had fun with any medium they chose: black felt tips, oil pastels, chalk pastels, acrylic paint, charcoal, glitter, paint in a sauce bottle, anything they wanted to artistically transform their faces into eye catching designs!! Here are some of their banners. Lots more to come.  

Finally we used eyelets and made holes to add string (braided, twisted, painted, natural) to hang them around the school.  The library and the front offices will look extremely colourful, once they are all finished and handing up for display.  


Shirley's
 
Sarina's


Saturday, 2 June 2012

Year 9 - Chalk Pastel portraits


Here is a look at our first attempt at doing large scale chalk pastels, my year nine students brought in a photograph of themselves or a family member, we learnt how to grid up our photos to large scale.  We then transferred our drawings onto pastel paper and here are some of our artworks in pastel.  Some chose to do black and white, which was quiet affective.

We still have a number of unfinished works in progress..with only three weeks to the end of semester, that is one of my challenges to get more completed.


Text as Art - Year 9


Coloured Pencils on Canson Paper


"Text as Art" - year nine students were asked to design a piece of artwork that used words, lyrics, poetry, quotes, songs segments, that related to them in any way.  Any medium could be used; they chose the techniques and media to produce their own artwork; these are some of the results of independent investigation and techniques based around text.


Coloured and lead pencil


Acrylic Paint (sauce bottle used to write with)


Chalk Patel, black felt tip writing.


Acrylic paint


Lead Pencil


Chalk Pastels


PopArtSketch

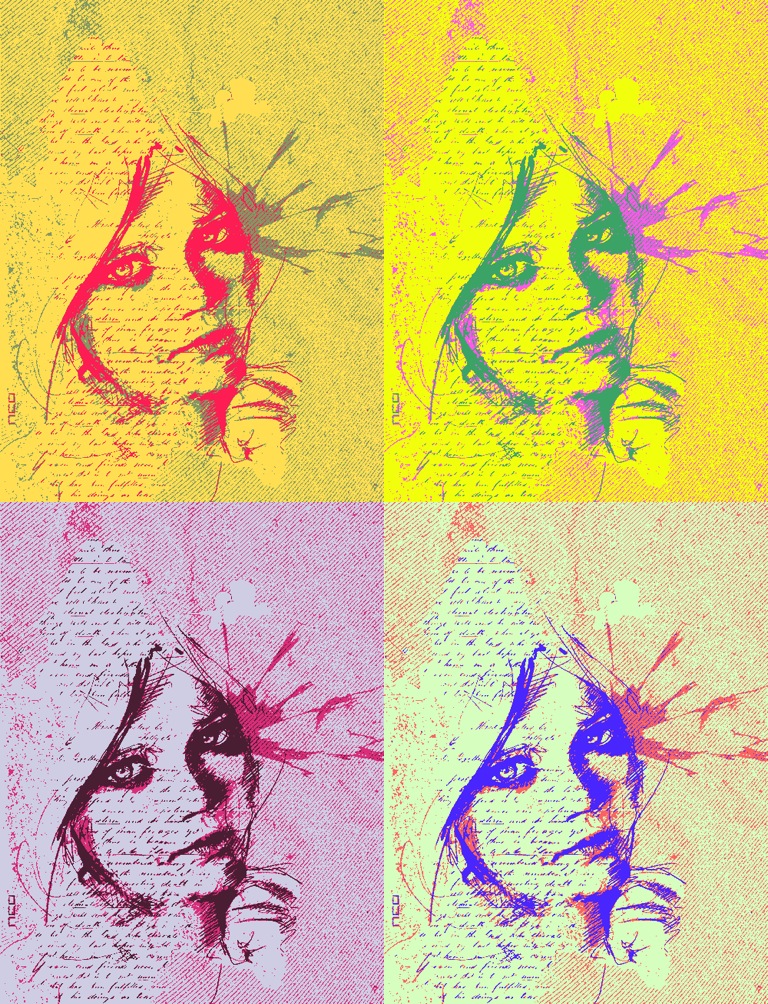
Here I started playing with an application PopArtSketch - an application that turns pictures instantly into an Andy Warhol look a like.  A fun application that works both in colour and black and white.


Using PopArtSketch Application


Black and White example in PopArtSketch

Tuesday, 22 May 2012

Portfolio Designs Year 7's


Year 7 Folio design - Saire
  Each year 7 student makes a folio to keep all their design, sketches, homework, and finished work in; to take home at the end of the term.

This year I started doing folios using outlines of shoes.

We first talk about lettering, spacing, how to bold their letters, adding style.  We work on a "rough" copy first to ensure we get our outline right, our lettering right and of course or name in the space provided in the design of the shoe.

We trace our "good rough" onto cartridge paper, in pencil.  We then look at colour; introducing what sort of colours we like, designs, blending, shading, patterns.

Year folio design - Sean


Year 7 Folio Design Aiden

Once we are finished, cut our shoes out, place them on a piece of coloured card and cut around our shoes to give it an outline.

Shoe names are stuck onto a folio; made out of cardbaord and contacted for protection.
They last for the whole term.


Year 7 Folio Design - Stewart


Year 7 folio design Lilian


Web of Texture - year seven.

 This project, my students investigate a range of textural surfaces.  They get the chance to expand their drawing skills.  Each student gets a choice of a wed design; we look at different web patterns that can be used.

Each section of the web, students draw a different texture design.  I have a box full of textures that i have printed out, we also do rubbings, students can add these to their design, the possibilities are endless.

We start our design in pencil first, then we add colour in a range of mediums, acrylic paint, water colours, coloured pencils.. or if students like to keep to black and white, then some choose to stay with their felt tip pens or lead pencil.

This further develops into tone, shading and hatching. 


When we finish, the webs are cut out, to represent the shape of the web, rather than a rectangle, added to cardboard, laminated and displayed.

This project usually is the last project I do with my year sevens, because it brings in all the elements of art.


Doodling on Advertisements - This is a project that I follow on with when I am introducing LINE to my year 7 classes. I try and get students to focus on using line, shapes and patterns rather than defacing the advertisements.

We use a black felt tip pen, .06 and .04.  The larger tipped pen is good for colouring the black areas, the finer tipped pen is for the designing and finer lines.

I dont use the advertisment straight from the magazine; the paper is too smooth. I have started collecting large scale faces from magazines and photcopy them in colour onto cartridge paper for my students to work on.


This link is where I first found the idea and inspiration for this project.  I have taken it further this term, with ripping the edges of the pictures and mount them on coloured or black cardboard and then laminate them for my students.